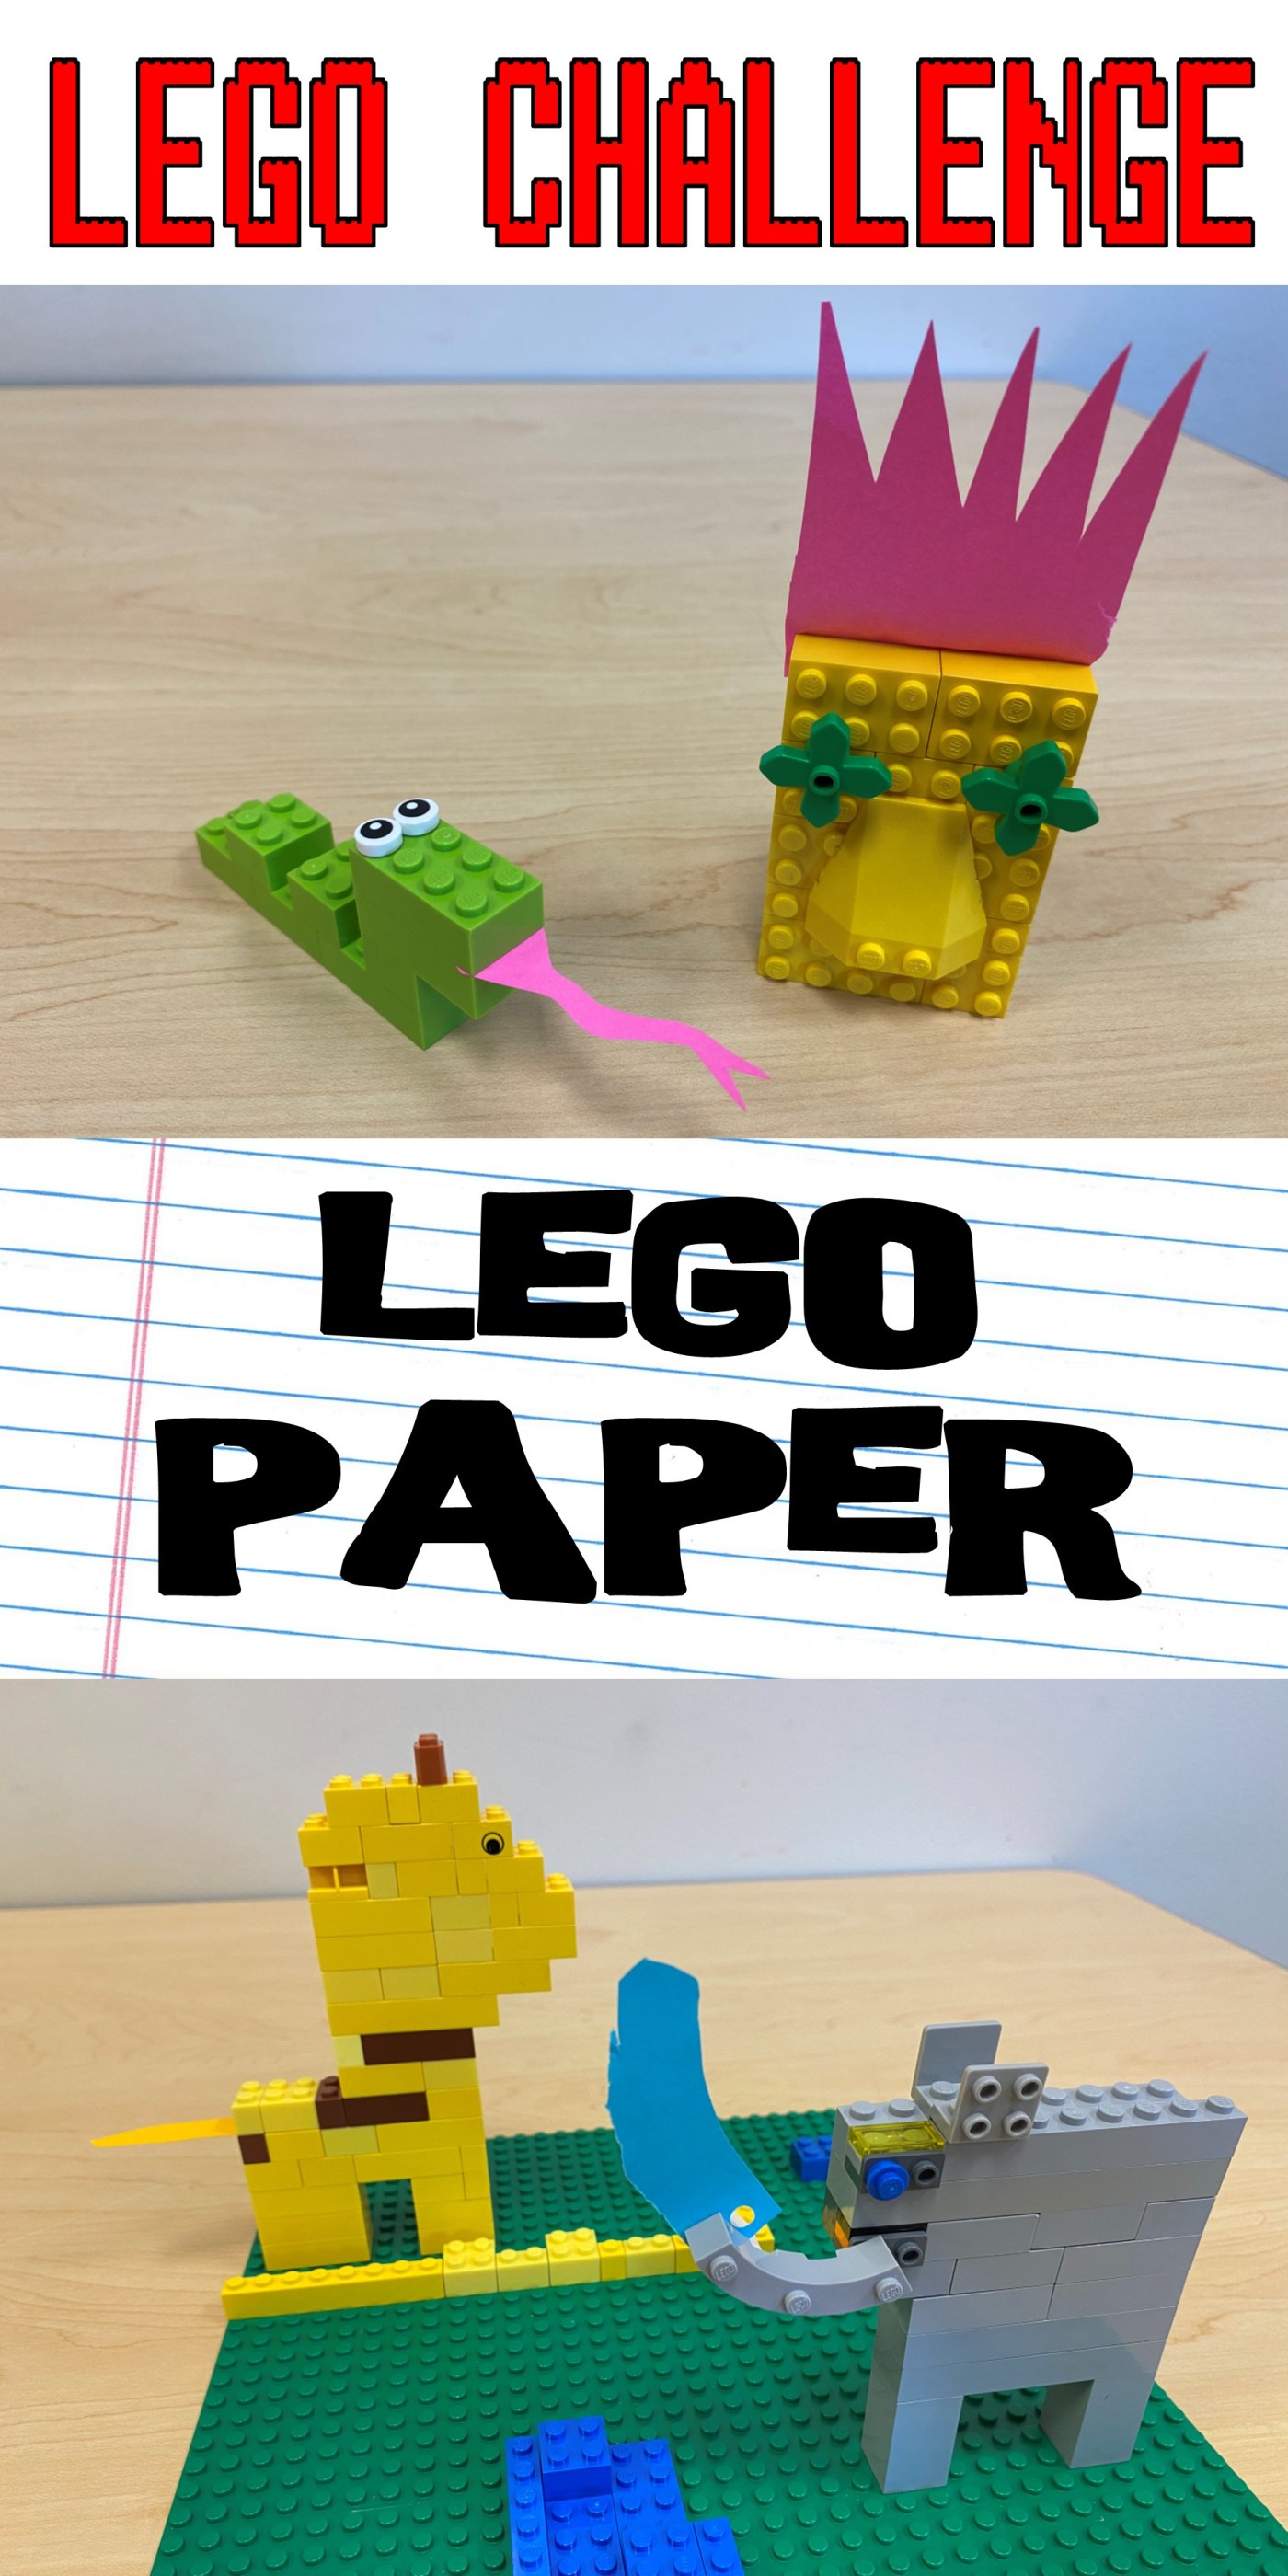

This is one I found while doing some research–Lego used to sell a hole punch that was exactly 5.1 mm in diameter, which is the exact diameter of a stud on any Lego block. So it was a kit designed to incorporate paper into builds! The kit also came with stencils to make planning out your dots on a piece of paper pretty easy. But these kits have been discontinued, so they go for over $100 online now, making it impractical to buy for a club now. Luckily I was able to find some cheaper 5 mm hole punches and was able to duplicate the process.

The only problem is that it doesn’t come with that nifty stencil to plan out your holes. So after going over rules, I showed everybody a quick movie I made to go over the best way to use the hole punches. This is my first time doing instructions like this, but I knew that the process would be really hard for some of our kiddos and I also knew I wouldn’t want to explain this over and over again.
The video definitely helped, so from there I would just help people with the hole punch that seemed to be struggling. Besides my normal table setup, I had one extra table with colored paper (card stock is too thick), scissors to cut out designs, and colored pencils to both color with and make the marks for punching. And I had 3 hole punches, which seemed to be fine for my group. It was good to give overall instructions and then help the few that needed guidance. So I would make my normal rounds, but then hover around this extra table and assist when needed.
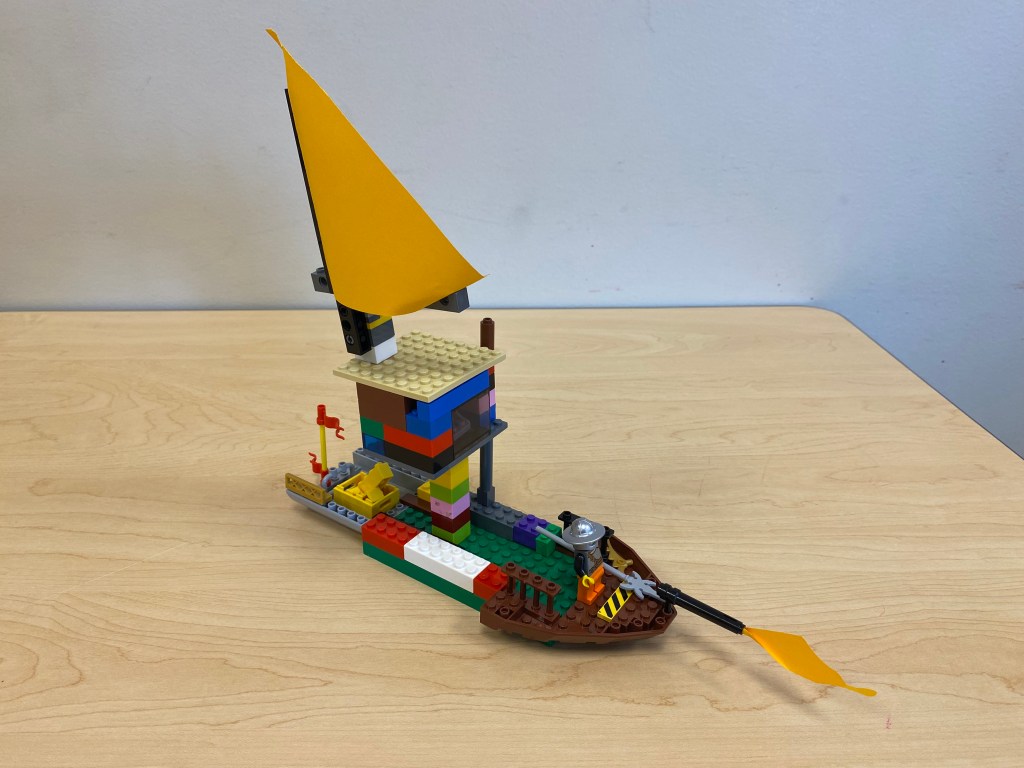
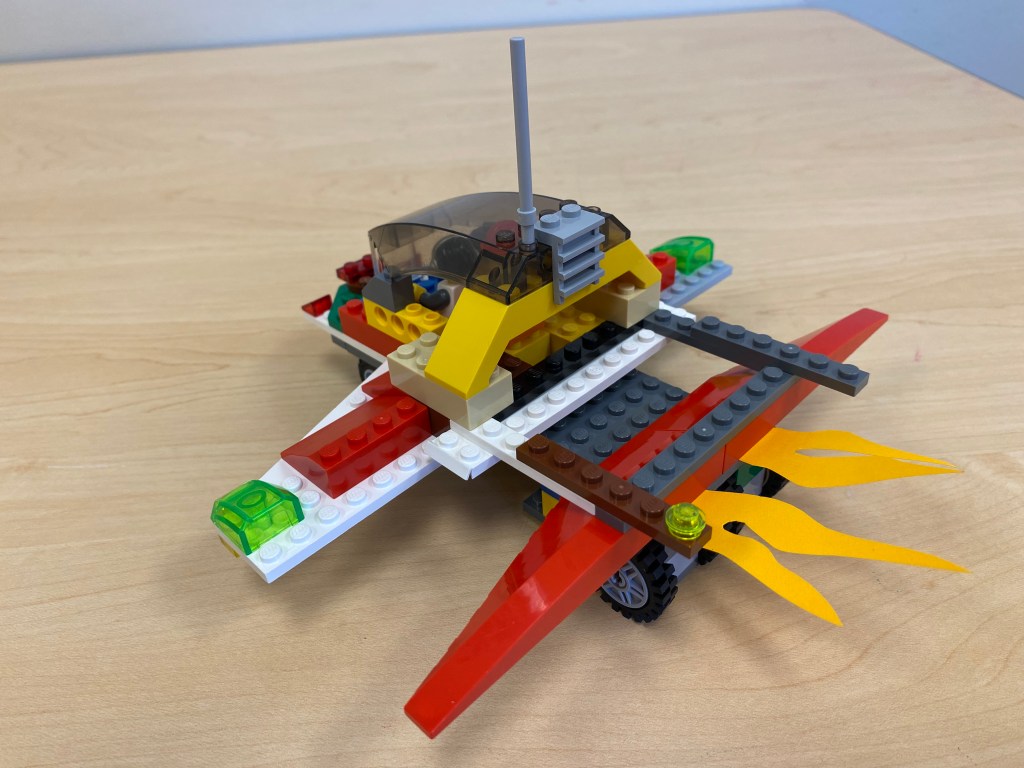
Overall people seemed to like this one. There was a lot of parental help, but I normally don’t mind as long as we’re working together, plus this one is especially harder for our younger friends to manipulate the hole punch. We ended by going to each table and sharing and almost everyone used the paper a different way, which was very cool to see. I saw wings, rocket boosters, ocean waves, roofs, animal tails–a lot of creative things I would not have thought of.

I would just say remind kiddos that the more holes you have in your paper, the more complicated it might be to put it all together, so starting out small can be the way to go first, and then you can expand out from there.
Overall, this one went great! I’ll definitely be adding this one to the rotation.
All blog entries are for educational or personal use. Please credit the original author if reblogging or posting ideas originally found on this site. LEGO® is a trademark of the LEGO Group of companies which does not sponsor, authorize or endorse this site.


Leave a comment